 By
By How to make a 3D Split Depth GIF Photo Booth with Social Booth
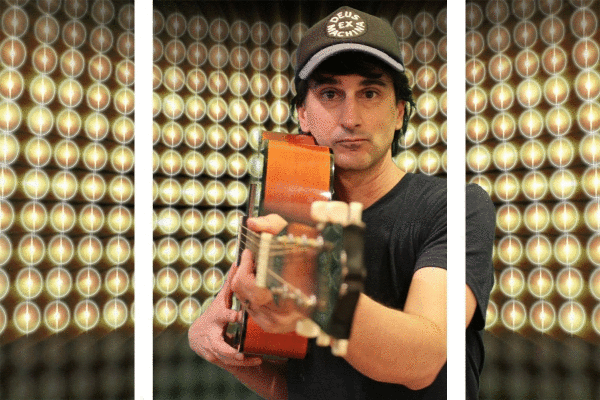
3D Animated GIFs, also known as Split Depth GIFs have been becoming more and more popular. Buzzfeed has some great examples, my favorite being this Captain America one.
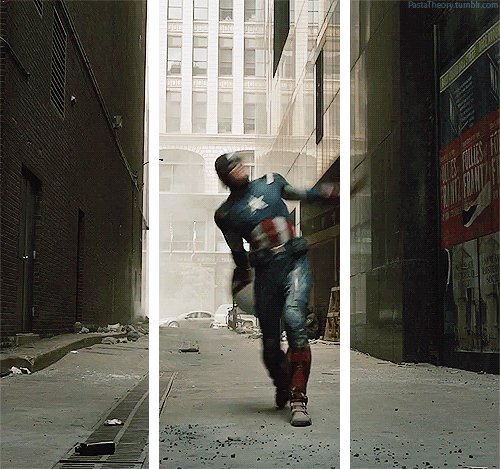
Pretty cool, right? It's a simple optical illusion triggered by the white lines switching from the foreground to the background of the moving object as it gets closer to the camera. Those samples are all done with Photoshop, but here's you can create the same effect using photo booth software like Social Booth.
Set up the Green Screen Backgrounds and Overlays
As mentioned above, the effect is created by having the white lines appear in front of and behind the object in motion to create the illusion that it is coming out at you. We will accomplish this by placing the white lines in our green screen backgrounds and green screen overlays at the appropriate times. This technique will only work while using green screen removal as it's the only way to get the white lines in the background and foreground at various points of the GIF.
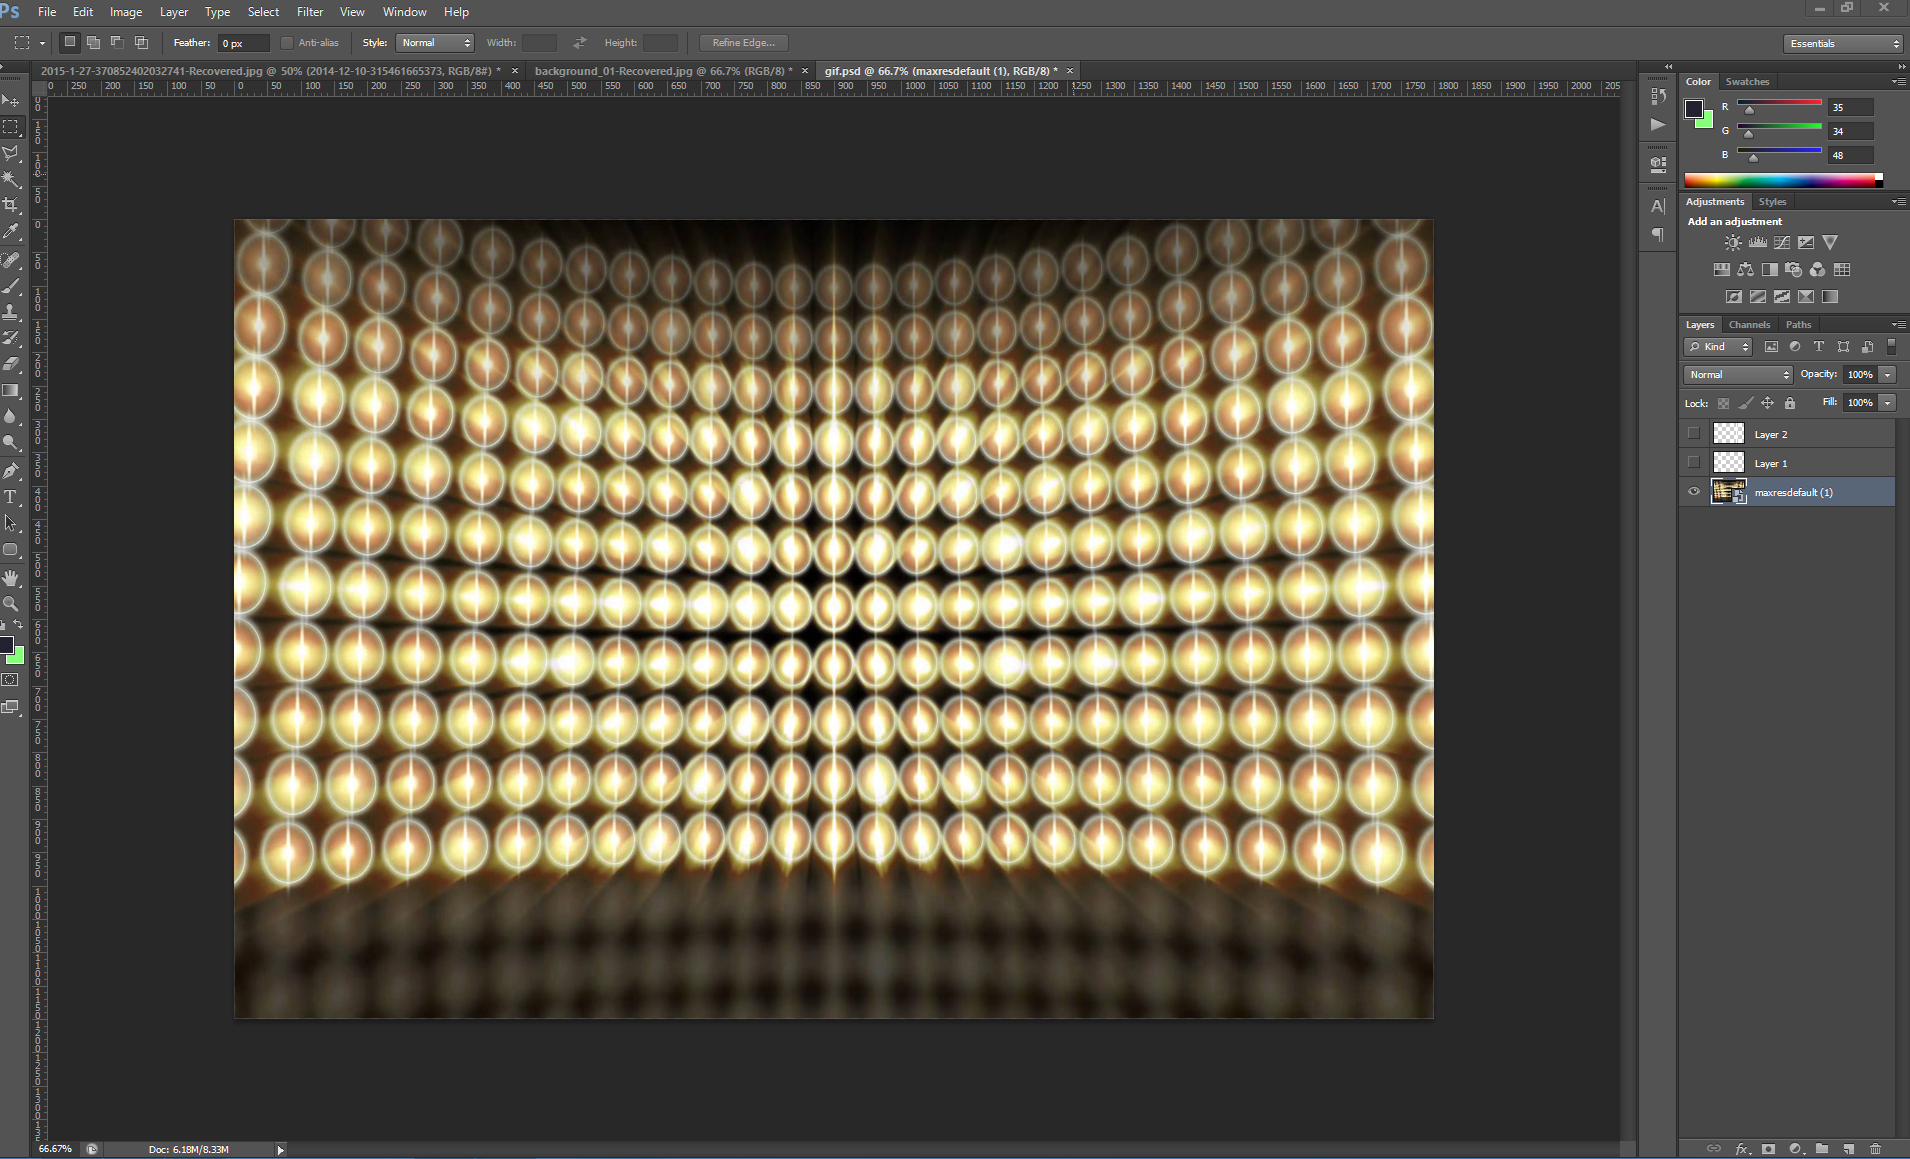
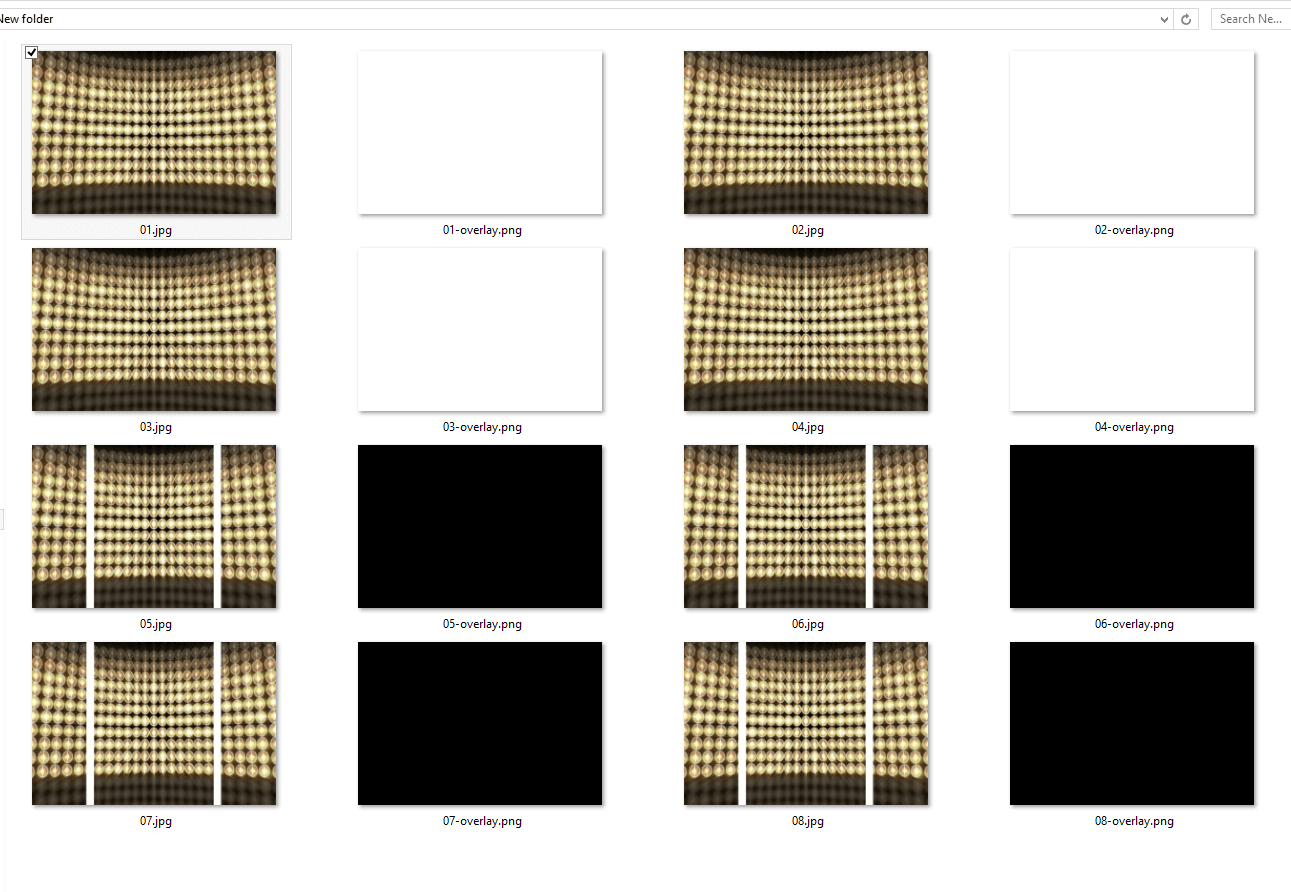
First, select an 1800x1200 jpg file for your greensceen background and make 4 copies of it.
Save them as 01.jpg, 02.jpg, 03.jpg and 04.jpg.
These will be the frames where the white lines are on top of or in front of the subject in the photo.
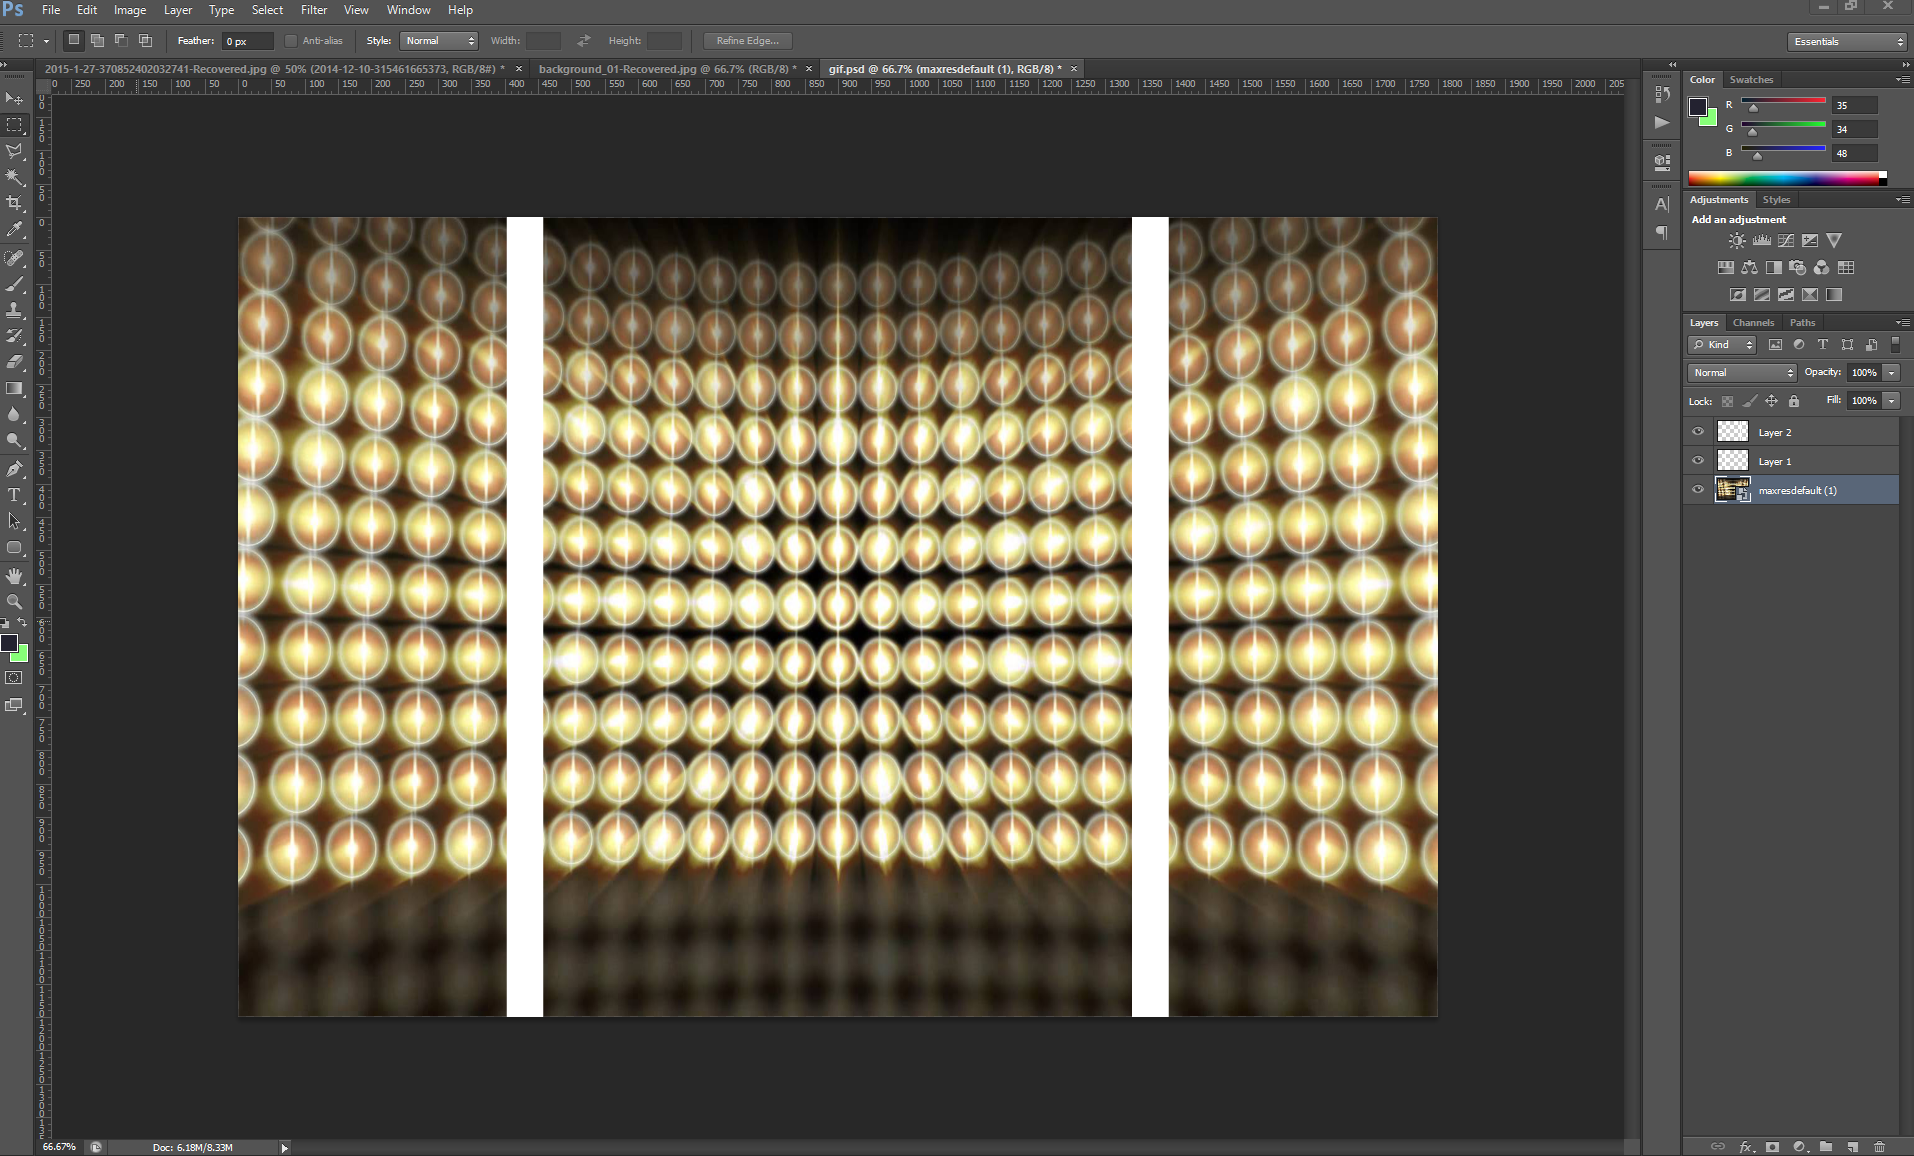
Then place 2 white lines on top of the green screen background and save 4 copies of that.
Save them as 05.jpg, 06.jpg, 07.jpg and 08.jpg.
These will be the frames where the white lines are behind the subject.
Then hide your background layer and save out 4 copies of the white lines by themselves as transparent png files.
Save them as 01-overlay.png, 02-overlay.png, 03-overlay.png and 04-overlay.png.
These will be the white lines in front of the subject during the 1st 4 frames.
Be sure to name your overlay files the same as your corresponding background file with the addition of “-overlay” Also make sure the overlays are saved as png.
Lastly, make 4 copies of a blank transparent png.
Save them as 05-overlay.png, 06-overlay.png, 07-overlay.png and 08-overlay.png.
These will go on top of the gif when the white lines are in the background files.
So when you are done, your green screen folder should have 16 files and should look something like this
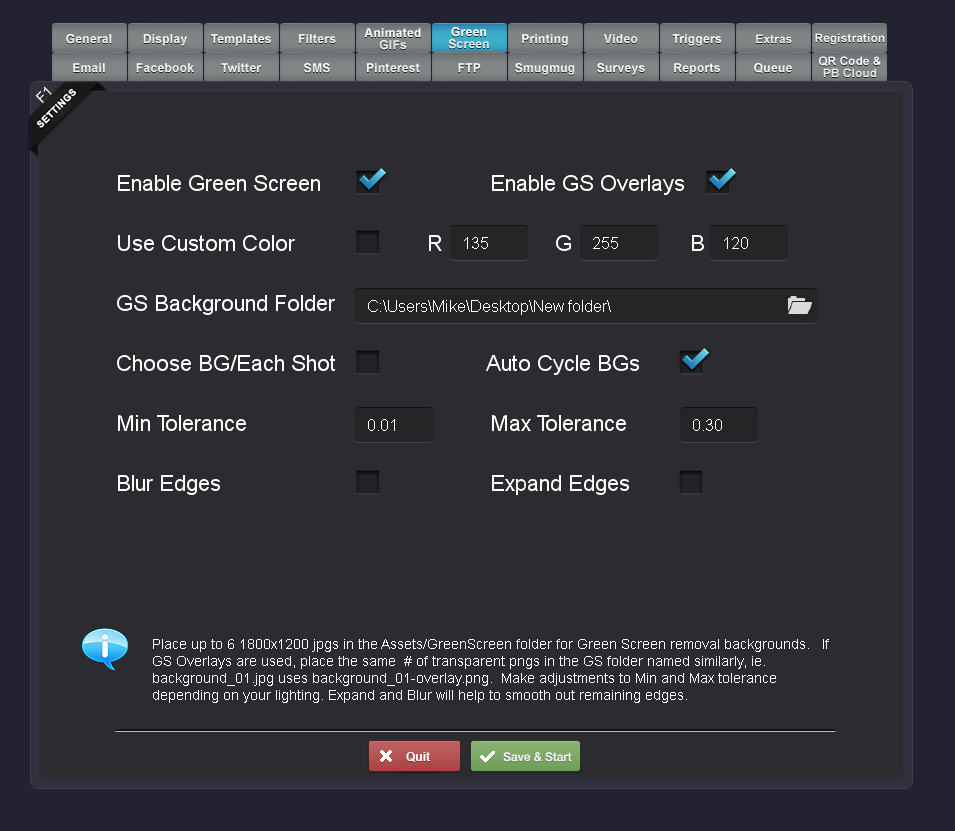
Configure Social Booth
Enable Green Screen in the Social Booth settings. You will also need to enable Green Screen Overlays and Auto Cycle Backgrounds in the settings.
Green Screen Overlays will be png files named with “-overlay” that get overlayed on top of the finished green screen photo, in our case, the white lines.
Auto Cycle Backgrounds will tell Social Booth to automatically use the next background and overlay file in the greenscreen folder so the user doesn't have to select each one.
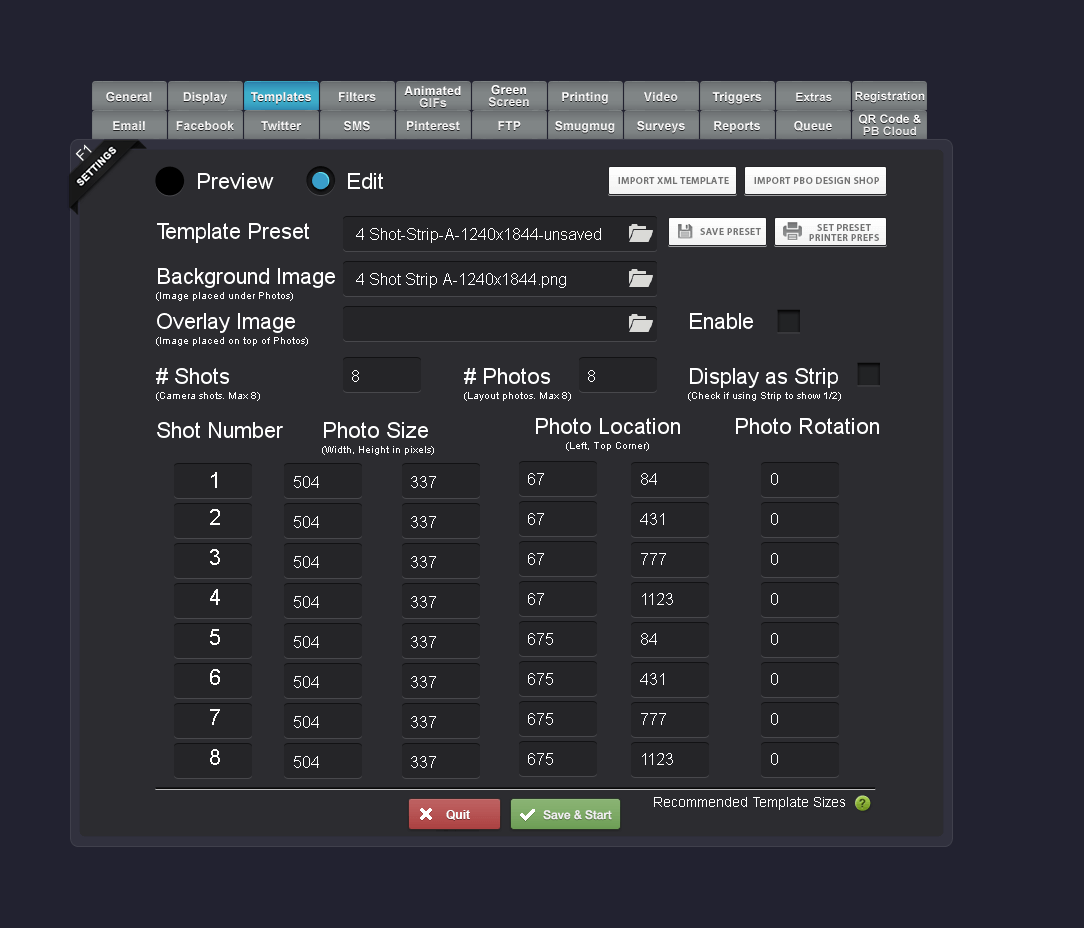
You will then need to create a template that has enough shots. I selected a 4 shot template and modified if to have 8 shots. Keep in mind, you can use this technique with less than 8 photos. I just chose 8 to have the most animation frames, but you can also do this with a 3 or 4 shot template.
Have fun
That's pretty much it. You can experiment with different timings for the overlays and lines. One technique is to leave 1 line always on top in all of the overlay files and just remove the other so the motion only appears on 1 side of the animation.
I've included a zip file of the backgrounds and overlay files in this example here.